How to Launch a YouTube Channel
September 28, 2017
Hi Ravers! First off, let me say thank you to everyone for your support with the channel! Holy moly, it feels so good to have our weekly show, #sheraves, out in the world. If you haven’t had a chance to check it out, you can do so here. And be sure to subscribe for all of the weekly goodness!
Since this all so fresh in my mind, I thought it may be helpful to break down the process in case you are toying with the idea of starting your own YouTube channel. Let me start this off by saying hats off to you full-time YouTubers and influencers. Getting this off the ground was an incredible feat. I really wanted to do it right and set it up for growth, so I put extra care into the details. And there are a LOT of details!
So without further ado, here is the breakdown:
Step 1: RESEARCH + PLAN + WRITE
Pinpointing my angle took 6 months. This will not be the case for everyone. However the umbrella of “production” and “content creation” covers a lot of bases and it took a few drafts to flush out who I wanted to talk to. (By the by, an early draft was called “The Production Round-Up” and I had a side-kick).
Once I had my idea, it was time to plan a schedule and begin writing content. For some reason, I had an unfounded confidence that I was just going to whip up my talking points in an hour and shoot all in the same day. That did not happen. Not even close. It was a full day of writing and a full day of shooting, all for four episodes.
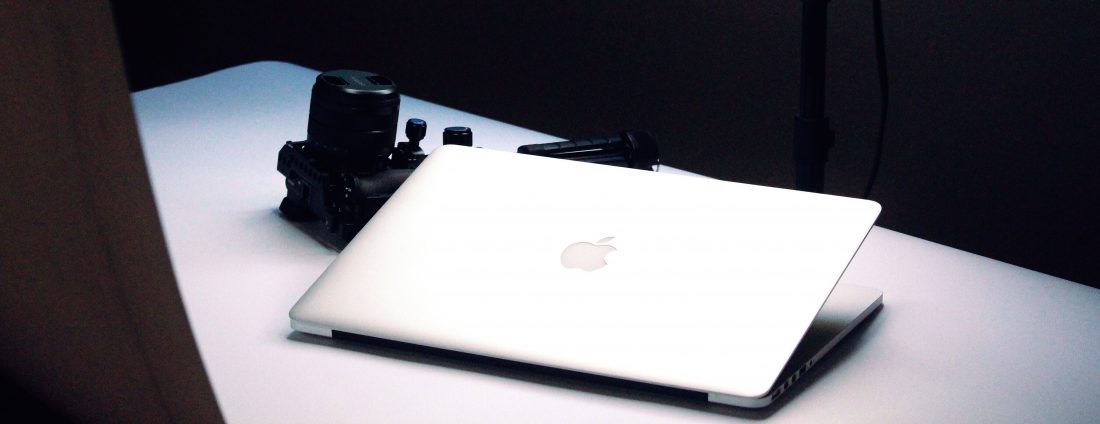
Step 2: VIDEO
You can start shooting your content today on your smart phone and call it a day. Actually, it is a smart idea to forgo buying fancy equipment in the beginning and to just begin creating content! But because we are a production company, I knew my videos had to have a polished look from the start. So I did upgrade my gear (I’ll do a detailed post on my research and my kit in the future!).
After spending some time learning my new camera, it was time to shoot. I decided to shoot in batches (shooting multiple videos at once). This helps you stay on top of the content within busy schedules. Efficiency is key, I’m learning!
STEP 3: BUILD A CUSTOM INTRO + CHANNEL COVER IMAGE
I wanted to have a killer show opener to add to each video. Originally, I had drafted a very detailed opener, but that was quickly abandoned for something more simple and to the point. Motion graphic artist (and super-talent) C.M. de la Vega helped me complete the final version.
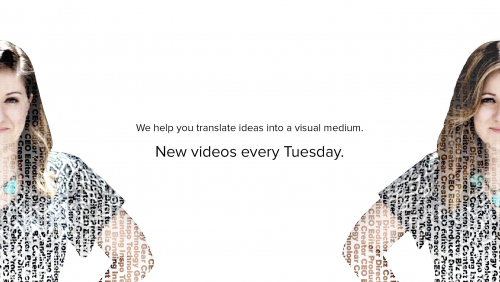
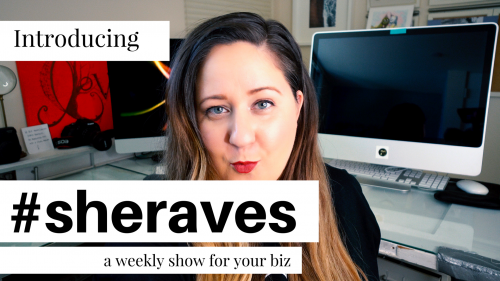
Next I had to create a custom cover image for the channel. Some people just go with a photo here. I thought it would be helpful for people to see what exactly we do from the first impression of our page. And for that, I enlisted the help of graphic artist George P. Wilson (who also designed our website and is a genius). Here is the progression of the concept:
Concept 1:
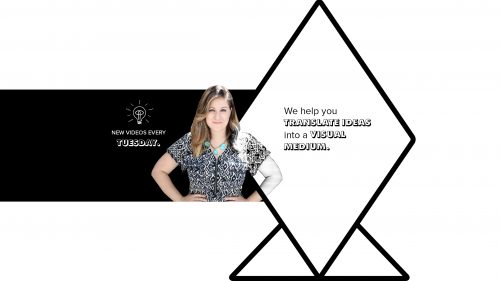
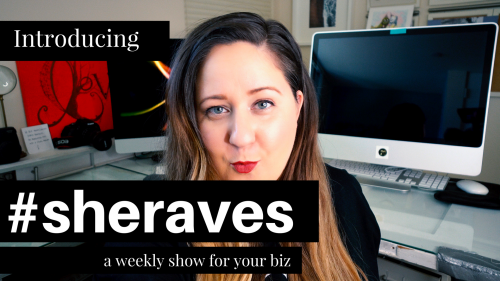
Concept 2:

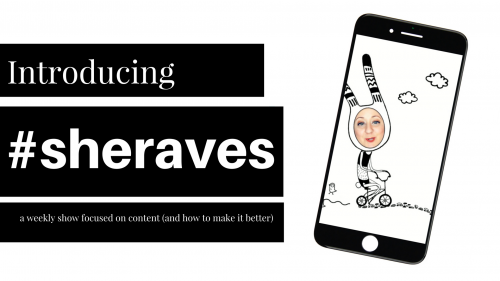
Final Concept:
Step 4: LOGO + ABOUT SECTION
We have a logo, so I actually just popped that in. But it is worth noting, what you use for your icon is also what will show up in comments, etc. So choose something that represents you accurately! If you are a brand, use your logo. If you are a personal brand (you as a human are the brand) then use a high-quality photo of yourself, from the neck-up.
In the about section, you want to say who you are and what your channel is about, as well as adding an email address where people can reach you.
Step 5: UPLOAD AND TITLE YOUR VIDEO
Pretty simple to upload. Just hit the upload button! And the title of your video should include what the video is about.
Step 6: FIGURE OUT WHY YOUR VIDEO ISN’T SHOWING UP
Yup. That happened. This video helped me figure it all out!
Step 7: CHOOSING A COVER IMAGE FOR YOUR PHOTO
In the settings, you can get approved to upload a custom cover image for your video. Definitely do that!
I also noticed all of these YouTubers were adding text to the cover image that explains what the video is about. At first I thought, “Are they all really using Photoshop to create each cover image?” Perhaps some are, but for the most part, no they are not. A lot of them are using free design tool, canva.com
I was pleasantly surprised at how easy it was to create. I’m pretty obsessive when it comes to the aesthetics of things, so it took me a few drafts to find my mojo, but Canva made it all pretty easy and accessible (however, you do need to upgrade to get a lot of the features, so it did not end up being free in my case!)
Here’s how it turned out:
Concept 1:
Concept 2:
Concept 3 (the one I used!):
Step 8: DESCRIPTIONS
Do not take the description of your video lightly! There are all sorts of recommendations on how to optimize your description so it helps you gain subscribers and views. Here’s what learned:
- Within the first three lines of your description you want to put a quick recap of your video as well as a call-to-action to subscribe. These first three lines are what is visible before the viewer has to hit the “show more” button.
- Add all of your socials and website so people know where they can reach you.
- Add your gear list or any links to items you talked about in your video.
- Make it AESTHETICALLY pleasing! Organize the info and make it very easy to read.
Here’s how our first one turned out:

Step 9: ADD SOCIAL MEDIA ICONS TO YOUR COVER PHOTO
You can do this by going to “Edit Layout > About > Links.” FYI, some logos were not appearing for me. If you have that problem with the twitter logo, I found this video helpful.
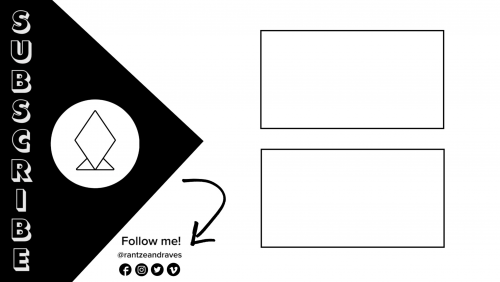
Step 10: ENDSLATE
It’s 1am the day before I’m about to launch and I realize, “Oh ya! I need an endslate!” An endslate is what plays for the last :20 seconds of the video. I created it and tacked it onto the end of my video, and then in your video settings on YouTube, you are able to add the subscribe button as well as 2 other videos you’d like to link. I currently do not have other videos, so those two rectangles are blank for now. But here’s what it looks like:
Step 11: TAGGING
When you’ve uploaded your video to YouTube and added your description, there is also an area where you can add tags. Do this! Tag everything you think your video is about or touches on. You want your title, description and tags to all contain the same key words so that YouTube will rank your videos higher in their algorithm.
Step 12: EMAIL MARKETING
Set-up the ol’ email marketing campaign to blast the new channel off to my peeps! I’m currently using Mailchimp. But I’m not married to any of the email marketing campaign companies as of yet. I’ll keep you posted on that.
Step 13: SOCIAL MARKETING
Schedule all of my updates across all of the social platforms for the week of the launch! For Instagram, I like using a scheduler such as Later. This enables me to pre-set my feed and make sure all of the photos fit well together.
Step 14: UPDATING WEBSITE
Gotta add that YouTube button to the social icon bar!
Step 15: BLOG
Here we are. Did you make it this far? Are you thinking of starting a channel? Hopefully this article makes the idea a little easier for you. I wish I’d had something like this to get me off the ground! I spent a lot of time on YouTube watching videos and Googling different articles. There is a lot of helpful content out there! But it would’ve been nice to have it all in one place.
Now it is!
Let me know if you have questions. And leave me links to your channels! I want to see what you’re up to 🙂